Decoupage is the craft of decorating furniture and objects with cut out paper. The word is French and actually comes from the old French word decouper, meaning to cut out, although variations have been found going back to the early middle ages and before.
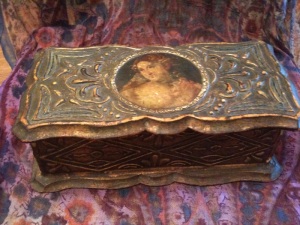
Florentine style decoupage
The traditional methods involved many layers and dozens of coats of varnish, painstakingly sanded back for a smooth finish, so you cannot tell where the piece ends and the paper begins.
Thankfully with today’s products, special decoupage paper and pastes, the task isn’t nearly as daunting as it was in years gone by!
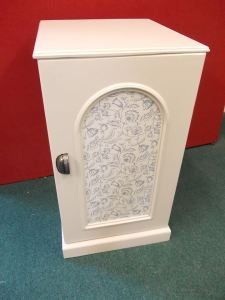
Cabinet with decoupage inset
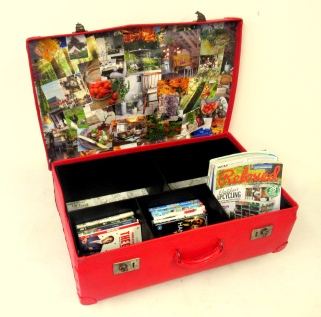
Whilst paint techniques and effects can make an item of upcycled furniture, the addition of decoupage can lift it to the next level altogether. A child’s locker can be made fit for a superhero or a plain wardrobe elevated to classic vintage status.
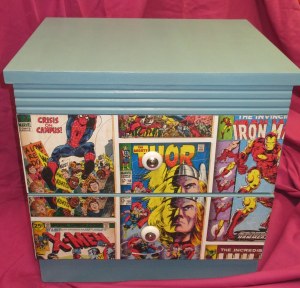
Superhero locker
Here at Back2New we pride ourselves on creating unique and exciting but practical pieces and sometimes decoupage can elevate ordinary to extraordinary.
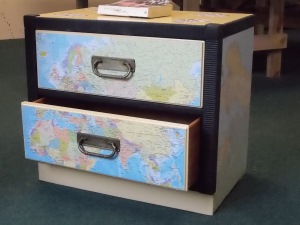
A world of difference with decoupage
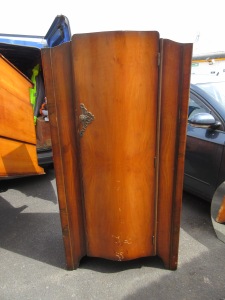
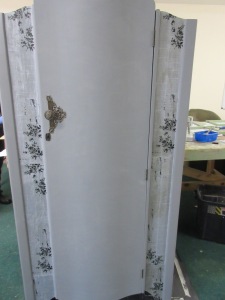
WARDROBE
This wardrobe has interesting shapes and panelling, however the scratched and dated mahogany finish left a lot to be desired. As the piece was masculine in practicality but feminine in design, we decided to incorporate this into our upcycle vision.
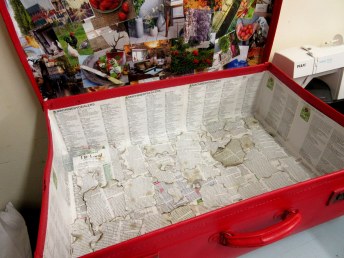
After sanding, the wardrobe was painted inside and out using chalk paint in Anthracite. To soften the effect and to highlight the panelling, we used a specialist but inexpensive decoupage paper.
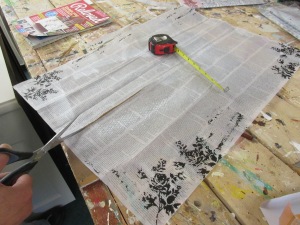
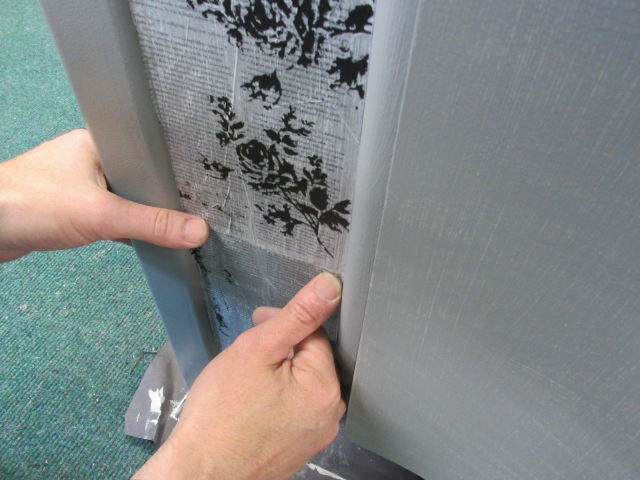
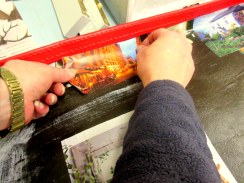
Measure and cut!
Once the pieces were cut to size, Annie Sloan decoupage paste was liberally applied and the paper bonded to the painted surface.
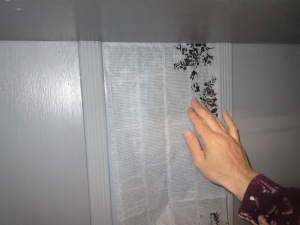
Position and paste
This particular paste dries flat and doubles up as a varnish, and for an even finish up to five coats need to be applied.
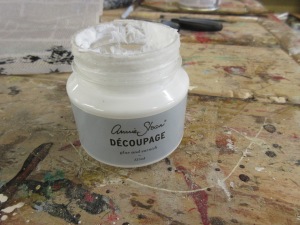
Annie Sloan decoupage paste
So, with some inexpensive decoupage paper and a steady hand, you can get an amazing transformation!


 We rummaged through our storeroom of donated furniture at work to find items we could use to create our project . We take a chest of drawers .
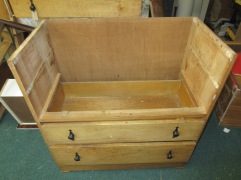 The top two drawers were taken out from the chest of drawers along with the table top section
 The table top was re-used midway for the seat area. The re purposed headboard was cut to fit the back section.
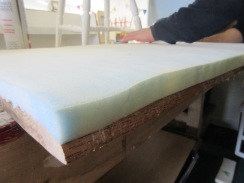 Seat area was then completed using foam, staples and glue.
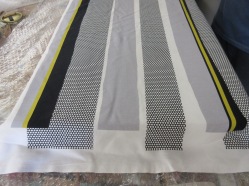 Then fabric was attached around the seat .
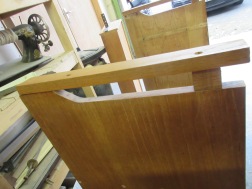 A section at the side was curve cut to create arm rests, which were constructed from scrap wood. Foam and fabric was then attached to each armrest.
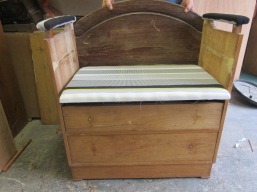 And our Monster Chair is ready to get painted .
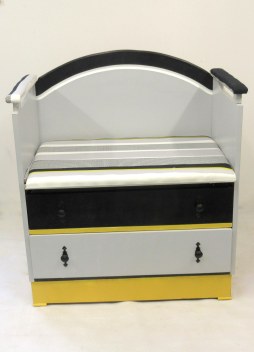
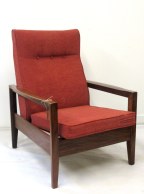 We upcycle Donated armchair .
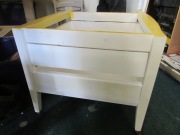 We take off the cushions , than around armchair we screw piece of wood and we prime it .
 We made a cover for this armchair , glue it with foam
 After we created with fabric and staple
 under the cover we glue with wallpaper
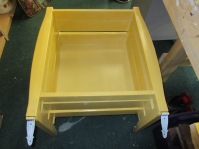 Paint our armchair / box
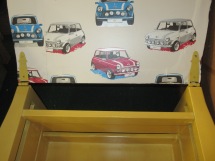 Screw our top together with a box
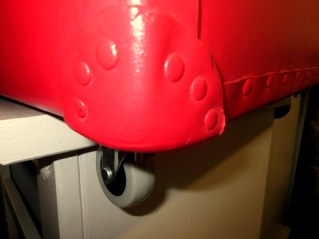
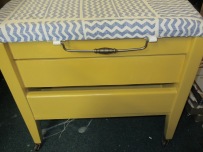 We expanded to the wheels at the bottom and we attach the handle..
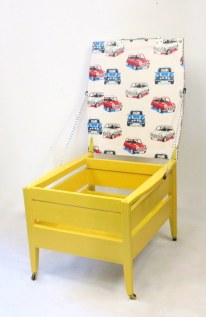 The toy box was ready to use !!


